Creating notes from the main screen
As mentioned previously, you can create several different types of notes in Evernote. New notes can be created from the main screen or from within the All Notes screen.
Here we’ll focus on creating notes from the main screen. Just below is a general set of steps for creating a new note. After that, we’ll talk about how to create each different type of note in more detail.
Create a new note from the main screen (general)
- Navigate to the main screen.
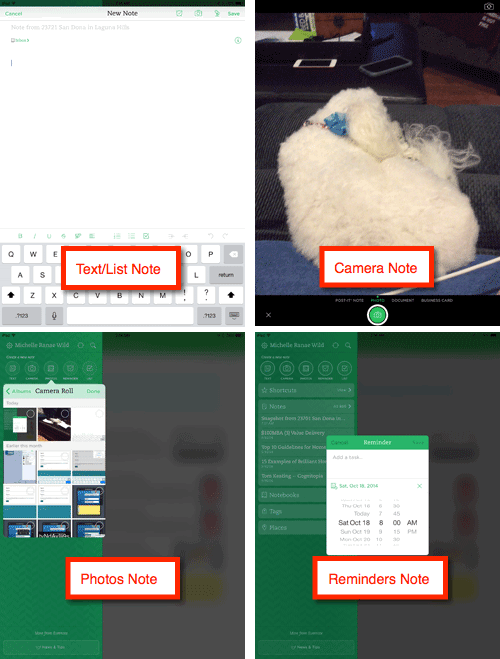
- Tap the desired note type. The new note screen will vary based on the selected note type.
- Text — Opens a new blank note screen
- Camera — Opens the Camera app
- Photos — Opens the Camera Roll
- Reminders — Opens Reminders screen where a task and reminder date and time can be entered
- List — Opens a new note screen with a checkbox already entered
- When you’re done creating the note, tap Save in the upper right corner. You will be returned to the main screen.
Evernote note types
Creating text notes from the main screen
Create a new text note from the main screen
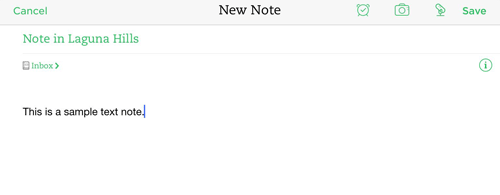
- Tap the Text note icon.
- Enter the desired note title. The default note name will be your current location if Location Services is turned on.
- Tap the body of the note (white area) and enter desired information.
- When you’re done creating the note, tap Save in the upper right corner. You will be returned to the main screen.
- Verify that the new note appears in the Notes section of the main screen.
GIVE IT A TRY!
Add the following text notes to the Evernote app. Be sure to give each one a meaningful title and tap the Save button in the upper right corner after creating each note.
- Add a sample text note that can be modified and deleted as you progress through this lesson.
- Add a note about what you have done in your current training session.
- Add a personal or work-related note.
Evernote text note
Creating camera notes from the main screen
Create a new camera note from the main screen
- Tap the Camera note icon.
- Tap the desired photo type: Post-It Note, Photo, Document, or Business Card.
- Tap the green shutter button at the bottom center of the screen. You can take multiple photos by tapping the green shutter button more than once.
- Tap the checkmark in the lower right corner to accept the image.
- If necessary, click Done.
- Verify that the new note appears in the Notes section of the main screen.
GIVE IT A TRY!
Add the following note to the Evernote app. Be sure to tap the Save button in the upper right corner after creating each note.
- Add a sample camera note that can be modified and deleted as you progress through this lesson.
Evernote camera note
Creating photo notes from the main screen
Create a new photo note from the main screen
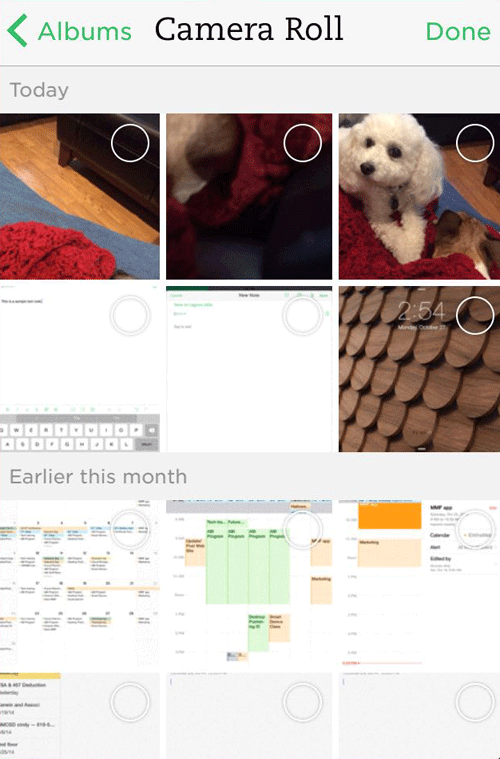
- Tap the Photos note icon.
- Tap the desired images to include in the note.
- Tap Select.
- Tap Done.
- Verify that the new note appears in the Notes section of the main screen.
GIVE IT A TRY!
Add the following note to the Evernote app.
- Add a sample photos note that can be modified and deleted as you progress through this lesson.
Evernote photos note
Creating reminder notes from the main screen
Create a new reminder note from the main screen
- Tap the Reminder note icon.
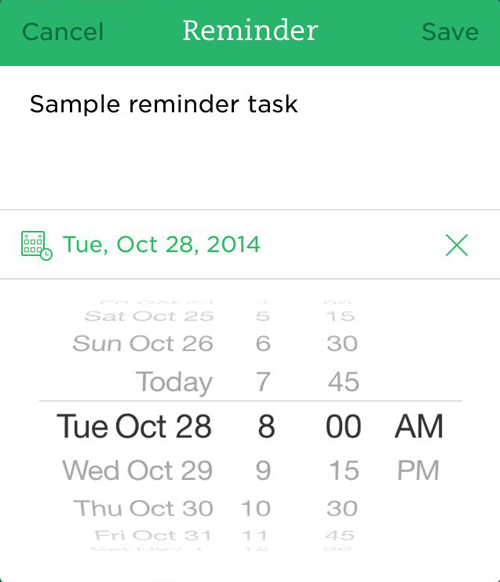
- Tap the Add a Task… field and enter the desired text.
- Tap the date, then drag to select desired date and time to be reminded.
- Tap Save.
- Verify that the new note appears in the Notes section of the main screen.
GIVE IT A TRY!
Add the following note to the Evernote app.
- Add a sample reminder note that can be modified and deleted as you progress through this lesson.
Evernote reminder note
Creating list notes from the main screen
Create a new list note from the main screen
- Tap the List note icon.
- Enter the desired note title. The default note name will be your current location if Location Services is turned on.
- Tap the body of the note next to the checkbox (white area) and enter first list item.
- Tap Return and continue adding list items as desired.
- When you’re done creating the note, tap Save in the upper right corner. You will be returned to the main screen.
- Verify that the new note appears in the Notes section of the main screen.
GIVE IT A TRY!
Add the following note to the Evernote app.
- Add a sample list note that can be modified and deleted as you progress through this lesson.


